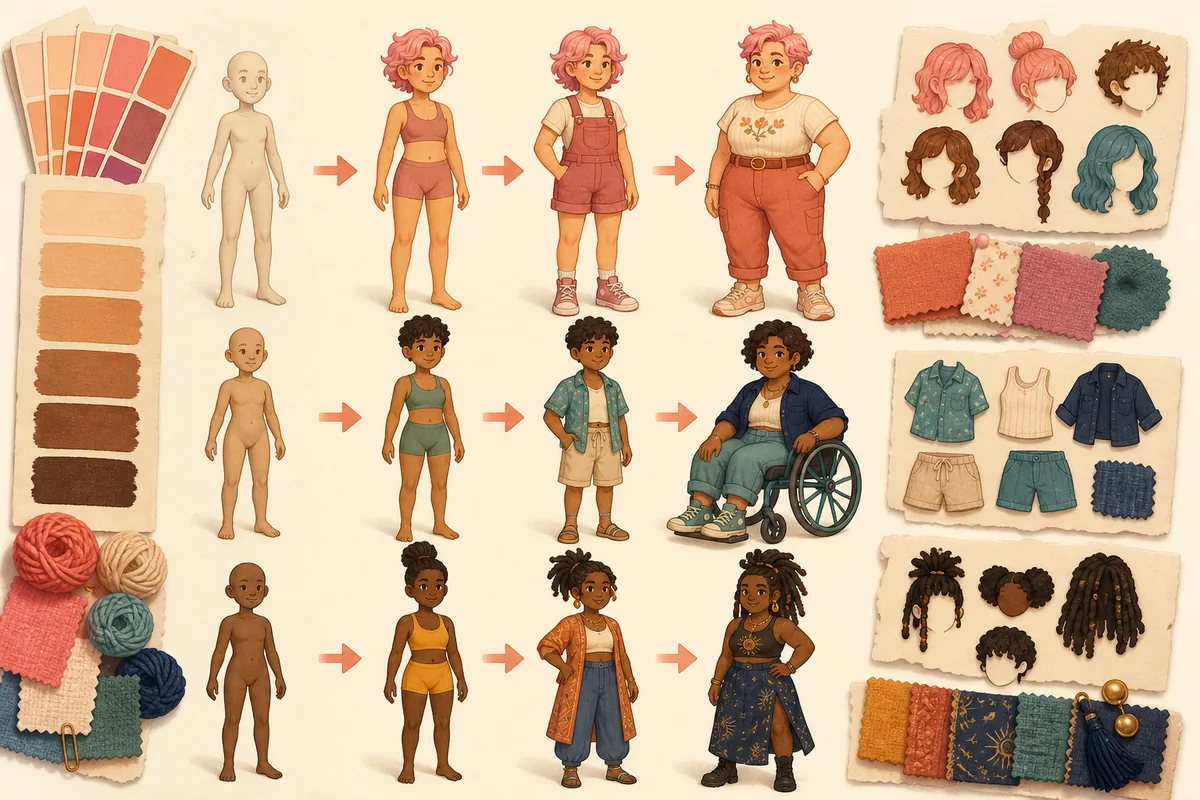
Open Paramaker, start with the household or Parafolk you want to create, then work through body and appearance controls before choosing everyday outfits. The official 0.1.7 patch notes add filters for clothes and hairstyles, which makes a large catalog easier to browse. Treat the generated illustration above as an editorial explanation, not a game screenshot; the real UI reference in this guide is linked to the official Paramaker update. Because Paralives is in Early Access, record the build you tested and recheck official notes when a menu or option looks different.
What is Paramaker in Paralives?
Paramaker is the character-creation area for designing a household of Parafolks. It is where you decide how a character looks and how their outfits are arranged before you return to the wider game. The official development page presents Paramaker as the place to make a household and design its members, while live mode handles relationships, careers and daily routines. Keeping those jobs separate makes the workflow easier to understand: appearance starts in Paramaker, but the result becomes meaningful when the character is played in the world.
Character creation is not the same search intent as Paralives custom content. Built-in Paramaker controls are part of the game; CC can add extra hair, clothes or other assets through a creator's distribution method. If you are looking for creator files, use the Paralives Custom Content hub. If you are trying to design a mod rather than a player character, follow the Paralives modding guide instead of treating the player workflow as a creator toolchain.
| Task | Where it belongs | Why it matters |
|---|---|---|
| Create a Parafolk | Paramaker | Build the appearance and household before entering live mode. |
| Manage daily life | Live mode | Play relationships, activities and household routines. |
| Add creator-made assets | Custom Content workflow | Use the source, dependency and install instructions for that item. |
| Make a mod | Official Modding Tools | Follow the creator workflow, testing rules and publishing guidance. |
Paralives character creation: a step-by-step workflow
A good Paralives character-creation session is easier to revise when you make broad decisions first and details second. Start with the household role and a simple visual direction, then refine hair, clothes and outfit combinations. This prevents you from spending time on tiny details before you know whether the character belongs in the household you imagined. Save or confirm the character only after checking the whole outfit set, because a change that looks good in one category can feel inconsistent in another.
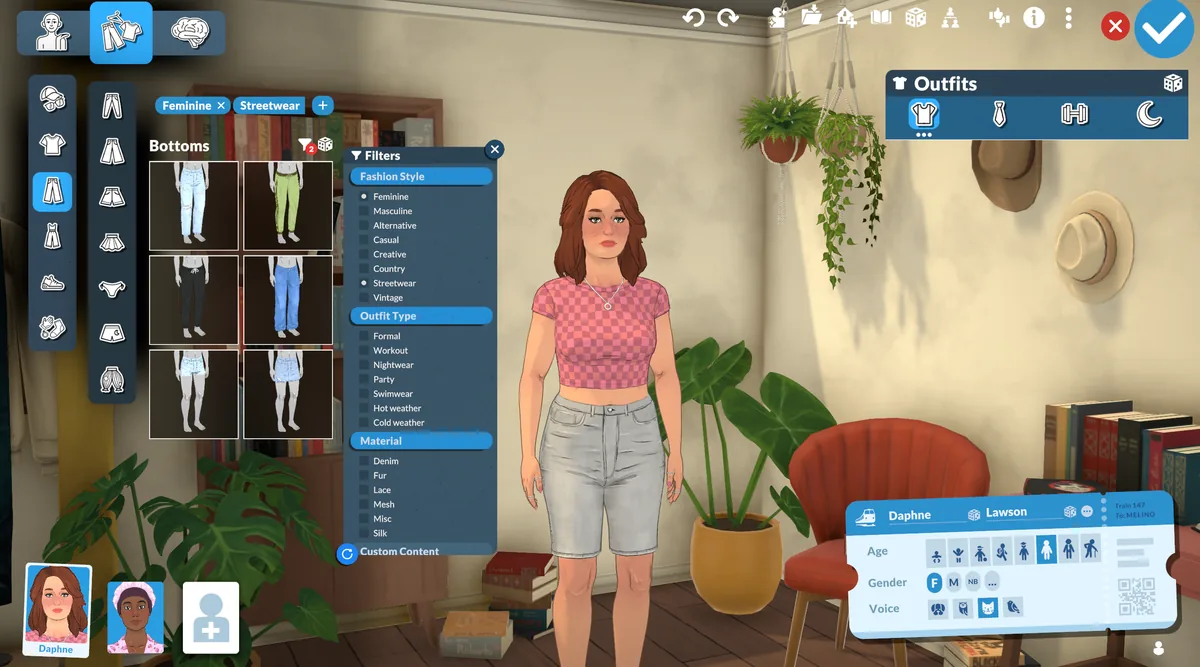
The exact button positions can move during Early Access, but the decision sequence remains useful. The official Paramaker screenshot below shows the current style of browsing clothes with category controls and filters. Use it as a real source reference, not as a promise that every label, icon or option will remain identical in your installed build.
- Choose the household contextDecide whether this Parafolk is a lead character, a household member, a town resident or a test character. The context helps you choose a consistent look and prevents duplicate experiments in your main save.
- Set the broad appearanceBegin with body presentation, skin tone, face direction and other large visual choices. Check the result from more than one angle before moving into outfit details.
- Build the outfit setChoose hairstyles, tops, bottoms, shoes and accessories for the categories you intend to use. Keep a simple everyday outfit as a baseline before experimenting with stronger combinations.
- Use filters and searchWhen the catalog is large, narrow clothes and hairstyles with the available filters. Read the category and tag choices carefully instead of assuming a filter means the same thing as a game mode.
- Confirm and test in live modeFinish the household, enter live mode and check the character during movement, conversation and ordinary lighting. A look that works in the editor should still read clearly in play.
Hairstyles, clothes and filters in Paramaker
The most useful change for browsing is not a single new outfit; it is the ability to reduce the amount of catalog scrolling. Patch 0.1.7 says that clothes and hairstyles can be searched with optional filters. Use those controls as a discovery aid, then inspect the selected item on the full character. A label or category can tell you how the game groups an asset, but only the preview tells you whether the shape, color and proportions work with the rest of the look.
When you are building a recognizable character, keep one anchor feature and vary the supporting pieces. The anchor might be a hairstyle, a jacket silhouette, a color family or an accessory. Testing too many strong features at once makes it difficult to remember what changed. For a household with several characters, use different silhouettes and palettes so they remain readable when the camera pulls back.
- Use a broad category before applying a narrower filter; otherwise a good item can be hidden by an overly specific choice.
- Check the full outfit after changing a hairstyle because collars, hats and hair volume can collide visually.
- Keep a neutral backup outfit for troubleshooting so custom content is easier to distinguish from built-in clothing.
- Use color contrast between hair, top and lower-body clothing when several household members share a scene.
- If a filter or tag looks different after an update, compare the official news page before assuming the save is broken.
| Browsing need | Useful approach | Common mistake |
|---|---|---|
| Find a clothing style | Start with the clothing category, then use the style filter. | Expecting a style filter to replace the category selection. |
| Create a consistent palette | Choose one anchor color and two supporting tones. | Changing every item independently until the outfit loses a visual center. |
| Make a household easy to read | Vary silhouettes, hair shapes and color accents. | Giving every character the same high-contrast outfit and hairstyle. |
| Test a new CC item | Return to a clean built-in outfit, then add one source at a time. | Mixing several downloads before checking which asset changed the result. |
Can you edit a character after creation?
The answer depends on the option and the build. Official patch notes have expanded the ways players can edit Paras, but Early Access does not make every category equally permanent or equally available in every context. If you need to change a hairstyle or outfit, look for the current editing route in the game rather than assuming that a character must be deleted and recreated. Keep a backup of an important save before testing a major change, especially after an update.
A practical edit session should be reversible. Take a screenshot or note the old outfit, make one change, then return to live mode and check the character in motion. If an option is unavailable, do not replace that missing control with a third-party trainer or an unverified executable. The Paralives cheats guide covers the built-in console separately, but cheats are not a substitute for a documented character-editing interface.
- Back up the saveUse a safe copy or a test household before trying a major edit in an Early Access build.
- Change one categoryEdit the hairstyle, clothing group or other appearance area you are testing, not the whole character at once.
- Check the result in playView the character in live mode, conversation and ordinary movement so clipping or visibility issues are easier to spot.
- Record the buildWrite down the game version and the route you used. Menus can change, and the note will make a later comparison faster.
| If you want to... | Use this decision | Do not assume |
|---|---|---|
| Change a built-in outfit | Try the current Paramaker or in-game editing route. | Every outfit category is editable from every screen. |
| Add a creator-made hairstyle | Read the CC source and dependency notes first. | A CC file uses the same workflow as a built-in asset. |
| Recover from a failed experiment | Return to a backed-up test household or clean baseline. | A trainer or random executable is an official repair method. |
From Paramaker to live mode
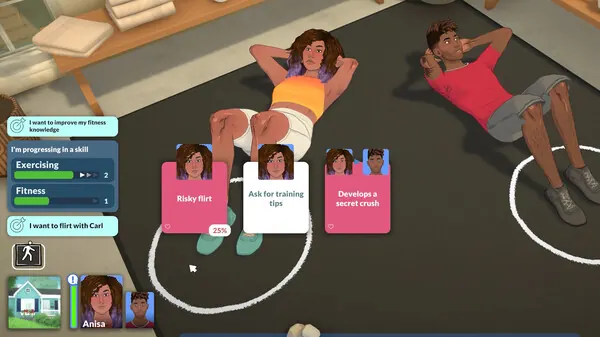
Character creation is successful only when the result works outside the editor. After confirming the household, enter live mode and watch how the character reads in the camera, during movement and next to other Parafolks. The official Steam media below is not a character-creation screen; it is a reminder that a hairstyle or outfit is ultimately part of a living scene with lighting, animation and social context.
Use a short repeatable test instead of judging from a single still frame. Walk the character through a room, start a conversation, zoom the camera out and compare the look with the rest of the household. If you are testing CC, first confirm the built-in version works, then add one creator source or a small controlled batch. The mod installation guide explains why Workshop subscriptions and external files should not be treated as identical.
- Check the face and hair at the normal gameplay camera distance, not only in a close editor preview.
- Watch movement and interaction animations for clipping or accessories that disappear.
- Compare the character against the household palette so the look stays readable in group scenes.
- Test a clean built-in outfit before troubleshooting a creator-made asset.
- If the game or mod behaves differently after an update, recheck the official source and the installed build.
Custom content is different from built-in character creation
Searches for Paralives character creation often sit next to searches for CC because both involve hair and clothing, but they are different jobs. Paramaker is the built-in player-facing editor. Custom content is creator-made material that may have its own source, dependencies, compatibility notes and installation method. Separating the two keeps a character guide useful for someone who only wants to make a household and keeps the Custom Content page useful for someone who wants additional assets.
If you are a player, start with the built-in catalog and establish a clean baseline. If you add CC, record the creator, source, version or check date and any dependency. If you are making an asset, use the official modding workflow; do not copy player-facing steps into a publishing checklist. This distinction also makes troubleshooting faster when an outfit is missing or a character looks different after a patch.
| Goal | Best starting point | Evidence to keep |
|---|---|---|
| Make a household with built-in options | Paramaker | Character choices and the test household. |
| Add extra hair or clothing | Verified Custom Content source | Creator, source, version/check date and dependencies. |
| Create and publish an asset | Official Modding Tools | Game build, tool workflow, test result and publishing notes. |
| Fix a missing or broken item | Source-specific troubleshooting | Whether the problem is visibility, dependency, update or installation path. |
What changed in the current Early Access build
This guide was checked on August 11, 2026 against the official Paralives home page, development page, official news and Steam listing. The official news page identifies patch 0.1.7 as published on August 10, 2026. Its Paramaker notes include searchable filters for clothes and hairstyles and five new patterns for some clothing. Those details explain why filters are central to this guide, but they should still be treated as build-specific facts rather than a promise about every future menu.
The same official news page also documents broader quality-of-life and visual changes. When a reader reports that a control has moved, a category has been renamed or a preview no longer matches the screenshot, check the official update first. Keep the source note visible and update this page when first-party documentation changes; do not fill a gap with an invented control or a screenshot from an unrelated game.
- Patch 0.1.7: filters can narrow clothing and hairstyle browsing in Paramaker.
- Patch 0.1.7: some clothes received five new patterned swatches.
- Paralives remains in Early Access, so menus and available options can change.
- The official source page is the authority for current controls; this article explains how to use them, not how to predict future releases.
A practical Paralives character-creation checklist
Use this checklist when you want a repeatable result instead of a one-off screenshot. It works for a first household, a test character or a small CC comparison. The goal is not to force every character through an identical template; it is to keep the important decisions visible so you can tell whether a later change came from Paramaker, live mode, a creator asset or an Early Access update.
If your computer is close to the published hardware floor, keep the first test simple. The Paralives system requirements guide explains why a clean launch and extra headroom make testing easier. A stable character-creation routine gives you a useful baseline before you add a large household, dense scene or collection of custom content.
- Plan the identityChoose a small set of visual anchors such as palette, hairstyle, silhouette or accessory.
- Create the clean baselineUse built-in Paramaker options first and keep a note or screenshot of the finished outfit.
- Check every outfitReview the categories you expect to use, then test the character at normal gameplay distance.
- Add one controlled changeIf you use CC, add one source or a small documented batch and record what changed.
- Recheck after updatesCompare the installed build with official news before deciding that a changed menu or asset is a bug.
Sources and media note
The official Paralives home page describes character creation and live mode as part of the Early Access game. The official development page describes Paramaker as the place to make and design a household. The official news page supplies the current 0.1.7 filter and pattern notes, and the official Steam listing supplies the game media reference.
The hero image is a clearly labeled editorial illustration created for this guide, not a real game screenshot. The Paramaker screenshot is official media from the 0.1.7 news post. The live-mode and Steam header images are official store assets already used by this site. Important facts remain in HTML text so the page does not depend on embedded image text.

Paralives character creation FAQ
What is Paramaker in Paralives?
Paramaker is the character-creation area where you make a household of Parafolks and design their appearance before playing them in live mode.
Can I filter clothes and hairstyles in Paralives?
The official 0.1.7 patch notes say that Paramaker can search clothes and hairstyles with optional filters. The exact labels and layout can change during Early Access.
Can I edit a Paralives character after creating them?
Some editing options can be available after creation, but the exact scope depends on the current build and context. Back up a test household, change one category and verify the result in live mode.
Is Paralives character creation the same as custom content?
No. Paramaker is the built-in player workflow. Custom content is creator-made material with its own source, dependencies and installation or subscription instructions.
Where can I find official Paramaker information?
Use the official Paralives development page and news posts for current feature notes. This guide was checked on August 11, 2026 and records patch 0.1.7 as the current official update found.
Why does my character look different in live mode?
Camera distance, lighting, movement, accessories, custom content and the installed build can all change how a look reads outside the editor. Test a clean built-in outfit before troubleshooting a creator asset.
Should I use a trainer to unlock character options?
No. Do not replace a missing documented control with an unknown trainer or executable. Check the official update notes and use the built-in game workflow instead.