
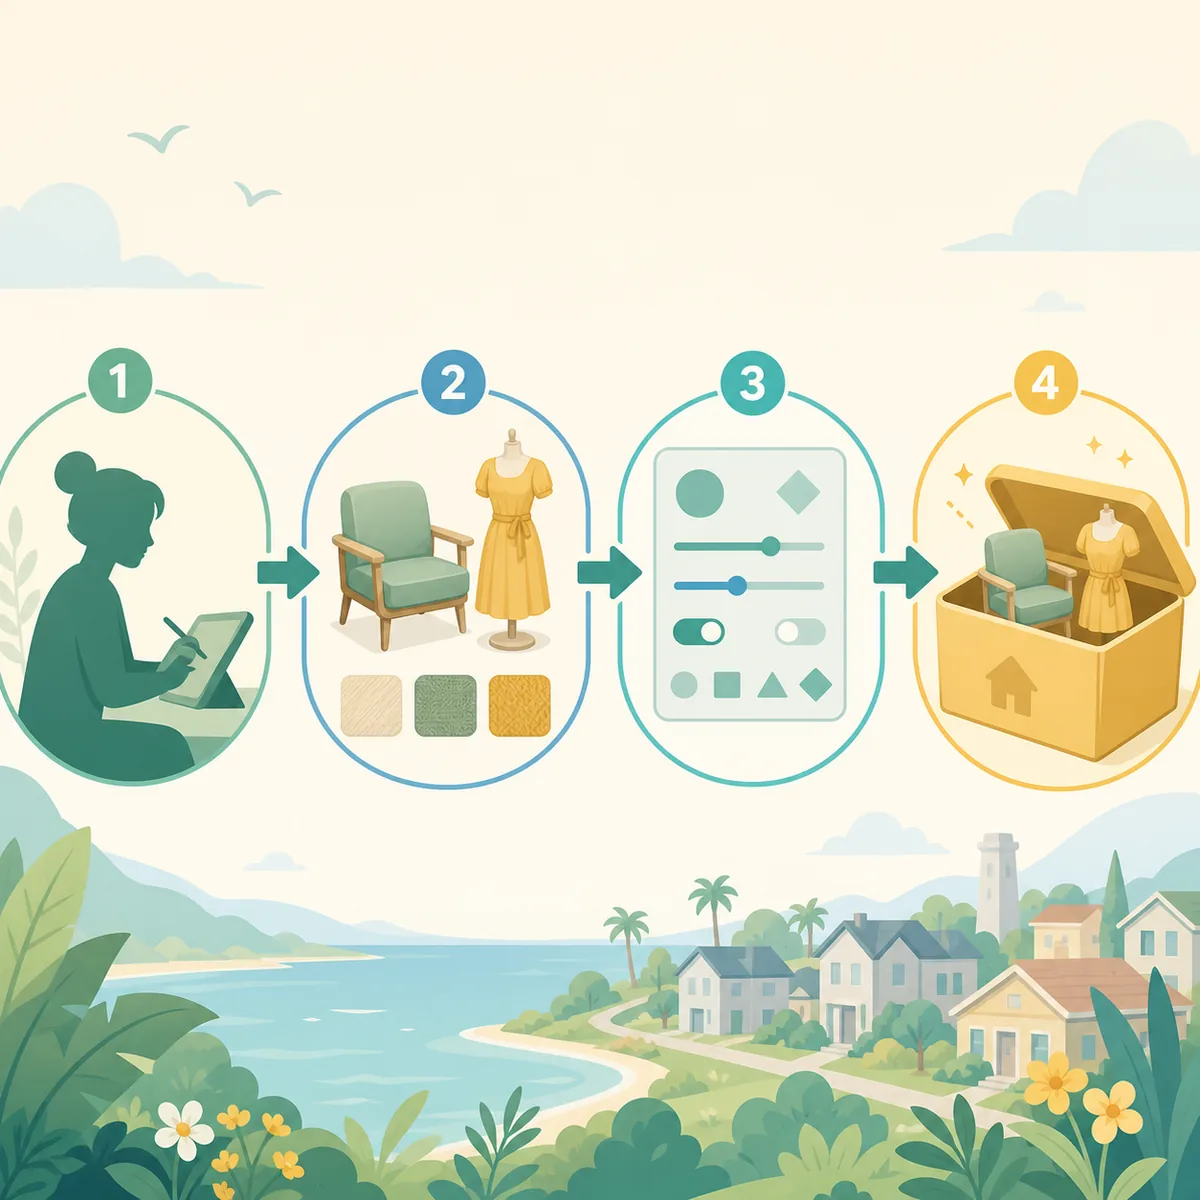
To make a Paralives mod, choose a supported feature from the official Moddable features reference, install or open the official Modding Tools, create one small furniture or clothing asset, test it in the correct game mode, record the game build and dependencies, then follow the official Steam Workshop upload steps. The checked official sources identify game build 0.1.7 as released August 10, 2026; menus and tool support can change during Early Access.
What can you make with Paralives Modding Tools?
A good Paralives modding guide begins with scope. The official Moddable features reference is the authority for what the current game and tools expose. Use it to distinguish a documented asset type from an idea that would require unsupported scripting or an unreleased hook.
For a first project, prefer a visible, reversible asset: one furniture object, one clothing item or one small set with a clearly stated dependency. A small project gives you a short feedback loop and makes it easier to tell whether a problem came from the asset, the project settings, the loader or the game build.
Do not promise a feature merely because another game supports it. Modding support can expand while Paralives is in Early Access, and a creator page can become outdated after a patch. Record the reference page and the date you checked it so another player can understand the limits of your release.
- Furniture and other build-mode assets that the current reference documents.
- Clothing or appearance items that follow the official clothing workflow.
- Small, testable content packs with explicit dependencies and permissions.
- Only features that the current tools and official documentation actually support.
| First-project type | Best starting reference | Test in |
|---|---|---|
| Furniture | Creating a Basic Furniture Item | Build mode and a saved lot |
| Clothing | Creating a Clothing Item | Paramaker or the documented appearance screen |
| Sound or other feature | Moddable features reference | The mode named by the creator documentation |
Making mods for Paralives: start with one small asset
Before making mods for Paralives, create a short project record. Write down the game build, tool version, source references, intended game mode, asset license and any dependency. This record is more useful than a vague claim that the file is compatible because it gives you a baseline for future updates.
Keep the first release narrow. One object or one clothing item is enough to learn the import, preview, naming and test loop. Avoid combining a new mesh, a large texture pack, a script dependency and several variants in the same first attempt; too many moving parts make an otherwise simple failure hard to isolate.
- Choose the documented featureOpen the official reference and select a feature whose input, output and game mode are clear.
- Create a minimal projectUse one asset, one name and only the dependencies that the reference or tool requires.
- Preview before packagingCheck scale, materials, thumbnail or preview behavior and naming before you move to the game.
- Test in isolationUse a copied save and a small test scene so a failed import cannot damage a detailed build.
- Record the resultKeep the tested build, tool version, dependency list, known issue and source files with the project.
Build a furniture or clothing mod from the official reference
If you want to create a Paralives furniture mod, follow the official basic furniture item guide as the field and menu reference. Check the object's scale, placement footprint, materials, thumbnail and behavior in Build mode. A finished screenshot is not enough: the item should remain usable after saving, leaving the lot and loading again.
For a clothing project, use the official clothing item guide and test the item on more than one body or character setup when the workflow permits it. Look for clipping, missing materials, incorrect category placement and a preview that does not match the in-game result.
Keep creator-owned meshes, textures, logos and reference images separate from the project files you can redistribute. If an asset comes from another creator, obtain permission and name the source in the release notes. Do not bundle paid or restricted content into a Workshop upload just because it was used during development.
- Use the official field names and menu sequence as the baseline.
- Check the asset in the mode where a player is expected to find it.
- Test category, scale, materials, variants and save persistence.
- Document permissions and dependencies before sharing the project.
Test the mod before you publish
A creator test should answer three questions: does the game detect the package, does the asset appear where the documentation says it should, and does the save remain healthy after the asset is used? Run the test with a copied save and a minimal set of other mods. That makes a missing dependency or conflict visible without putting a primary household or lot at risk.
Test the normal player path as well as the creator preview. For furniture, place, rotate, duplicate, save, leave and reload. For clothing, open the documented character screen, change categories, confirm the preview and reload the save. If a script or framework is involved, test the documented startup order and record any console or log message rather than hiding it.
A failed test is useful evidence. Keep the smallest project version that reproduces the issue, write down the exact game build and remove one variable at a time. Link players to the matching troubleshooting page when the problem is an installation or loading symptom rather than a design flaw.
- Back up a test saveUse a copy of a small lot or household and keep the original outside the test cycle.
- Load only the needed filesTemporarily remove unrelated content so dependency and conflict checks are meaningful.
- Repeat the player actionPlace, preview, save, reload and remove the asset using the path a player will follow.
- Capture a useful failureRecord the game build, tool version, log clue and last known working project state.
| Check | Evidence to keep | Release decision |
|---|---|---|
| Detection | Loader or tool sees the package | Continue only if the expected dependency is present |
| In-game placement | Asset appears in the documented category | Fix metadata before publishing |
| Persistence | Save, reload and removal behave as expected | Publish only after a repeatable clean test |
| Compatibility | Game build and tool version recorded | Label unknown items honestly when evidence is missing |
Upload a Paralives mod to Steam Workshop
When the local project passes its test, use the official mod creation and Steam Workshop upload reference. The upload step is a publishing workflow, not a replacement for testing. Prepare a clear title, a short description, a preview image that shows the real asset, the required files, dependencies, credits, known issues and the game build used for the check.
Steam Workshop is useful because the creator can keep one public item and players can subscribe to that exact source. It does not remove the need for version notes or a compatibility policy. Link to the original project when a file is also available elsewhere, and explain whether an update changes an existing save or only adds catalog content.
Do not copy the player installation guide into the creator upload instructions. A player may need to subscribe, wait for Steam and verify the item in-game; a creator needs to package the project, set its metadata, respect permissions and update the Workshop item. Keep those paths separate so support questions arrive with the right evidence.
- Prepare the releaseInclude the tested files, version, dependencies, credits, license and a real preview of the asset.
- Describe the expected resultName the game mode, category, controls or placement behavior and any known limitation.
- Publish to the exact Workshop itemFollow the official upload reference and verify that the public page represents the project you tested.
- Re-test the public routeSubscribe from a separate test profile or clean setup when possible and compare the result with the local package.
Keep a creator release maintainable
A first release is only the beginning of making mods for Paralives. Keep the editable source, export settings, preview image, release notes and test save together. When the game or Modding Tools change, rebuild the smallest project first and compare it with the last known working version instead of changing every field at once.
Use a version number that changes when the package or compatibility contract changes. In the notes, state the checked game build, the tool or framework version, dependencies, supported mode, known conflicts and whether an old save is safe to open. If you cannot verify a claim, say that it is unverified rather than presenting a guess as compatibility.
The site checked the official Steam listing, Paralives News, development information, the official modding wiki and the Steam Workshop on August 7, 2026. No game installer or mod file is offered on this page. Use the official source pages as the authority for current tools, upload fields and platform behavior, then update your release notes when those references change.
- Keep source files and exported files identifiable and reversible.
- Record the tested game build, tool version and dependency chain.
- Use real screenshots or previews of the asset and credit every contributor.
- Retest after a game update before changing the compatibility label.
- Point players to the installation and troubleshooting guides for player-side problems.
Document creator support and update records
A useful release should let another person reproduce the result without guessing what happened during development. State the game and tool versions, the exported file, the expected location of the asset and every dependency. If the mod needs a particular setup, put that condition in the description and the project record. A few verifiable facts are more useful than a long list of untested features.
The Workshop page should show a preview of the real content. A finished house is not a substitute for a furniture preview, and generic game art is not a substitute for the clothing item. Name the asset clearly, separate features from requirements and known limitations, and credit each contributor. If another creator's texture or reference was used, record permission before publishing.
When a player reports that the mod is missing, ask for the game build, the mode and category they checked, the dependency state and whether Steam finished its download. Do not recommend deleting the entire library first. Compare the report with the minimal test, check the export and keep a reproducible example. This separates discovery problems from conflicts and outdated packages.
After an update, test the asset again before changing the compatibility label. Compare the editable project with the last working export, note changed fields and publish a version note when behavior or saves are affected. If the new build is not verified yet, leave the status open. This keeps an old test from becoming an unsupported current promise.
- State game and tool versions, dependencies and the expected mode.
- Show the real asset in the preview image.
- Credit materials, permissions and contributors.
- Keep the smallest project that reproduces each problem.
- Change notes and compatibility only after repeating the test.
Making mods for Paralives FAQ
How do I start making mods for Paralives?
Start with the official Moddable features reference and choose one small furniture, clothing or other documented asset. Record the game build and tool version, test it in the correct mode and only then prepare a public release.
Do I need to know how to code to make a Paralives mod?
Not every documented asset workflow has the same technical requirements. Begin with the official tool and asset reference for the feature you want. Do not assume that a script-heavy feature is supported just because an object or clothing workflow is documented.
Can I upload a Paralives mod to Steam Workshop?
The official Paralives wiki provides a mod creation and Steam Workshop upload reference. Follow that page for current fields and packaging rules, then verify the public item from a clean test setup.
Should I make furniture or clothing first?
Choose the smaller project you can test completely. Furniture is checked in Build mode; clothing is checked in the documented character or Paramaker workflow. One working item teaches more than a large pack with unclear dependencies.
How is creating a mod different from installing one?
Creating involves the tool project, asset preparation, permissions, packaging, testing and release notes. Installing involves the player's Workshop subscription or the creator's documented file path. Keep the two workflows separate.
What if my new mod does not appear in Paralives?
First confirm that the package was exported for the expected feature and that the required dependency is present. Then use the site's mods-not-showing and mods-not-working guides to separate discovery, category, loading and compatibility symptoms.