For Workshop items, subscribe and wait for Steam Downloads. For external archives, read the instructions, extract only when required and test with a backup save.
Choose the source-specific method
How to install Paralives mods depends on the source. Steam Workshop uses a subscription and Steam Downloads; a Nexus Mods or creator archive may require extraction and the documented manual location.
Do not turn every source into one generic folder recipe. Read the creator instructions, confirm the item is for Paralives and record dependencies before changing a live save.
- Workshop subscription
- Manual archive from a creator
- Dependency or framework package
- Post-install catalog check
Install from Steam Workshop
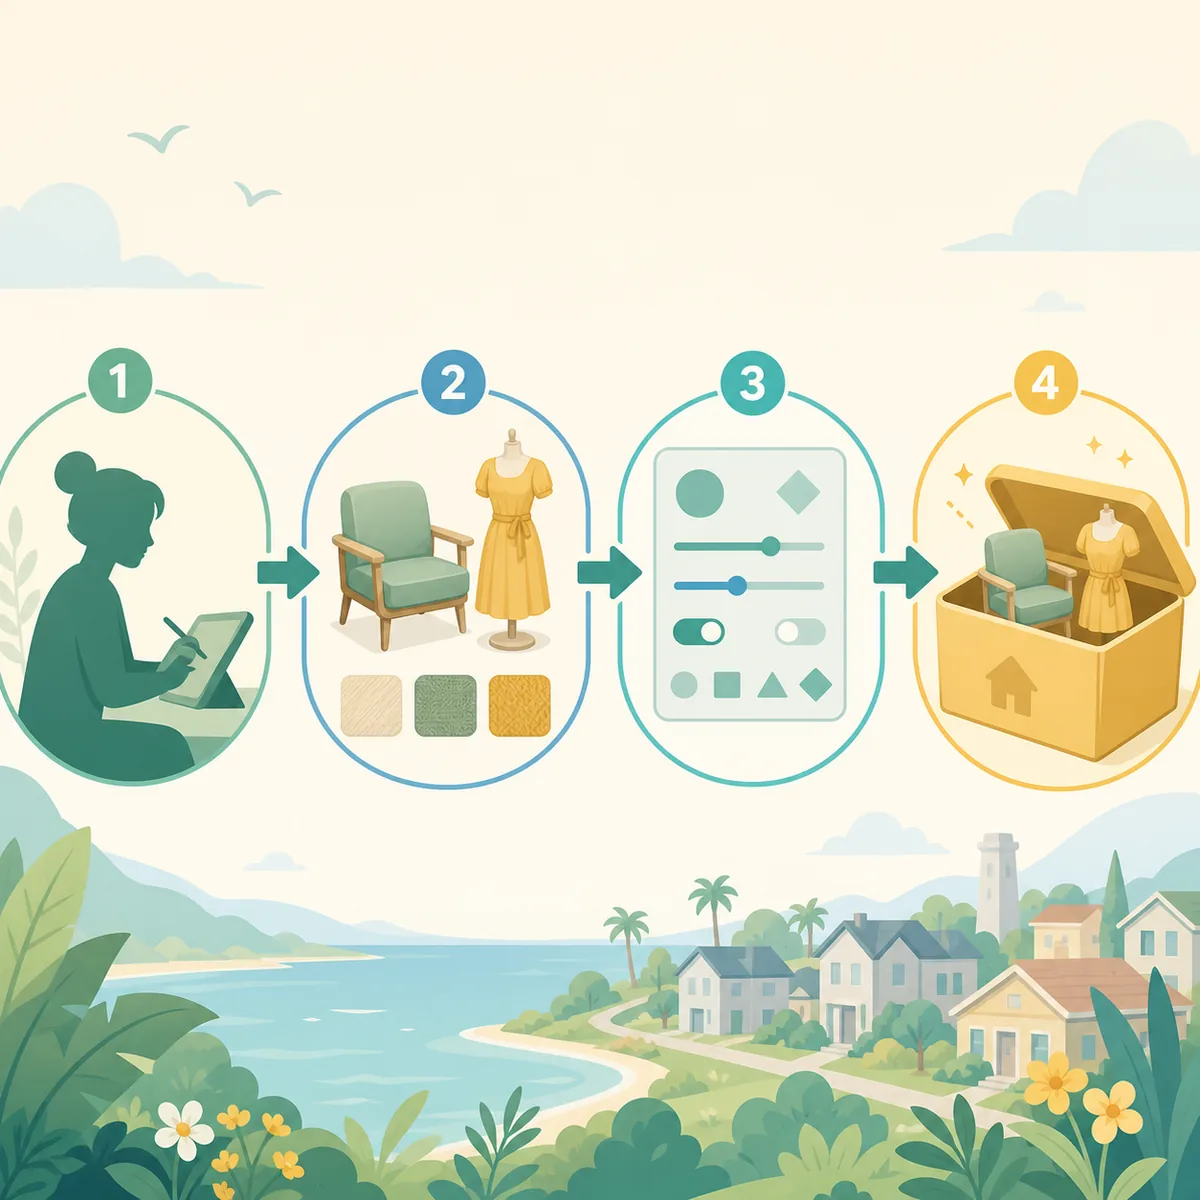
Open the official Paralives Workshop while signed into Steam, subscribe to the item and wait for the client download to finish. Subscribe to required items first when the creator lists dependencies.
Restart Paralives after Steam is ready, enable any documented mod setting and check the exact Paramaker, build or gameplay location named by the creator. A subscription is not proof that the content is already available in-game.
- Open the official WorkshopUse the Paralives app Workshop page in Steam Community.
- Read requirementsSubscribe to required dependencies before the main item.
- Wait for DownloadsDo not launch while Steam is still writing files.
- Restart and checkTest the promised result with filters cleared.
Install an external archive
For a manual download, keep the creator page and archive name, extract only when instructed and follow the documented folder depth. Avoid inventing a path from a different game or copying a Workshop item into a manual folder.
Install dependencies first, then test one package with a backup or test save. If the archive contains several optional parts, add them in small groups so a failure can be traced.
- Keep the original creator URL.
- Check the archive instructions and required files.
- Avoid an extra nested folder level.
- Test one package before adding a collection.
Find the folder without creating duplicates
Similarweb question data shows strong interest in the Paralives mods folder, but the exact path can depend on the creator's current loader and platform. Use the page's documented path rather than copying a fixed folder from an unrelated guide.
If both a Workshop item and a manual archive exist, isolate one source. Duplicate copies can make a correct install look broken and make later updates difficult to remove safely.
| Source | Owner of updates | Safe first check |
|---|---|---|
| Steam Workshop | Steam subscription | Downloads complete and restart |
| Creator archive | Player and creator | Instructions and extraction |
| Dependency | Original author | Required version and order |
| After install | Player test | Correct mode and clear filters |
Verify the result after installation
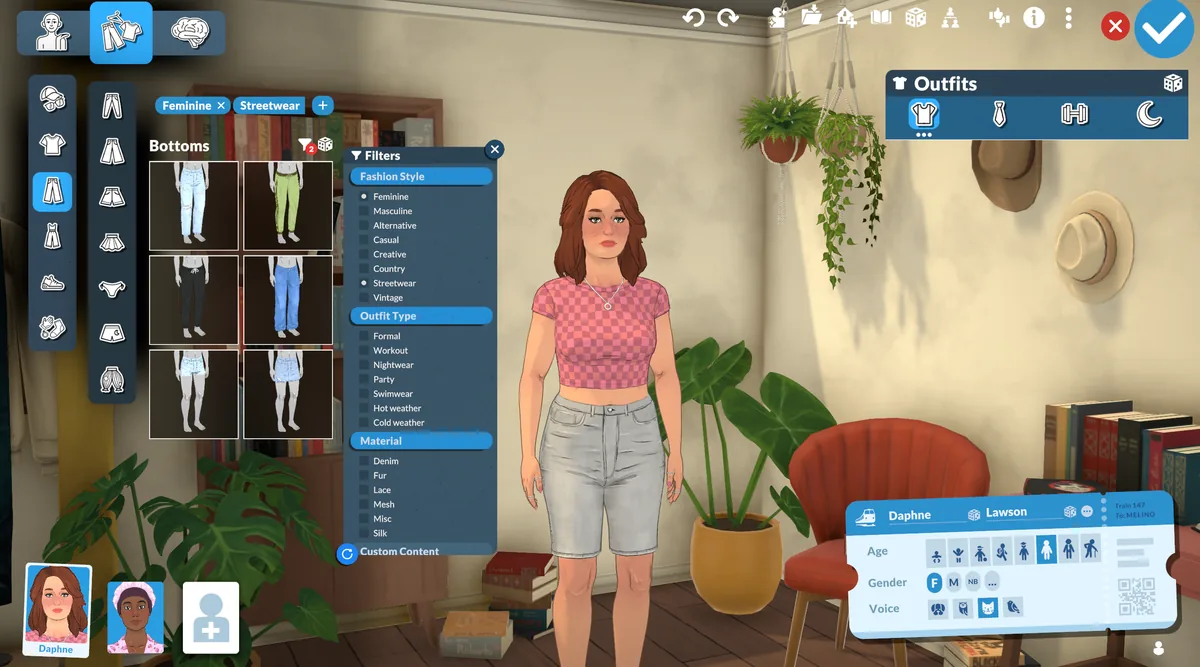
A successful copy is not the same as a visible or working mod. Clear search filters, open the expected category and compare one known item with the new package. If it is missing, use the mods-not-showing guide.
If it appears but its feature fails, use the mods-not-working guide. Keep the source, version, dependency list and test result so the next update can be compared.
Mac, Nexus and other edge cases
Platform-specific paths and permissions should come from the current creator or loader instructions. Do not promise a fixed Mac path when the source does not verify it. Nexus Mods and creator pages may use different archive structures.
Do not provide installation support for pirated copies. Use the official game and source workflow, keep saves backed up and avoid downloads that remove the creator's attribution or compatibility notes.
Installing Paralives mods FAQ
Do I have to restart Paralives after installing mods?
Yes. Restart after Steam finishes or after the manual archive is ready, then check the mode documented by the creator.
Where do I put Paralives mods?
Use the current creator or loader instructions. Do not guess a fixed folder from another game or an old guide.
How do I install Nexus Mods for Paralives?
Read the archive structure, install dependencies and follow the specific creator instructions.
Can I add mods without Steam?
Only when the creator provides an authorized manual file and explains its installation.